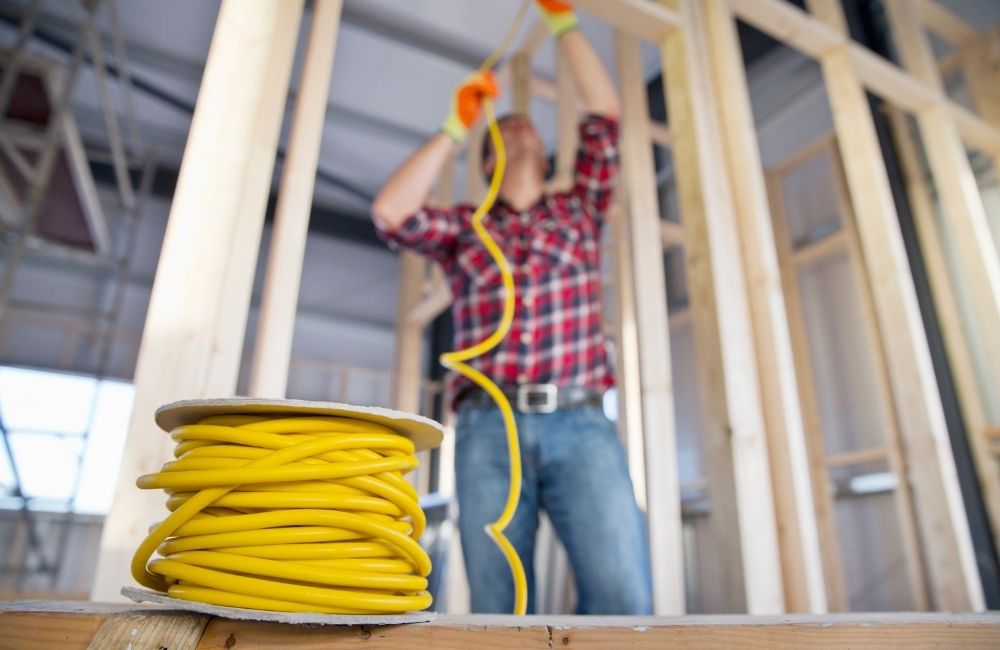
Electric vehicles (EVs) are becoming increasingly popular, and installing a home charging station is one of the best ways to make EV ownership convenient and efficient.
However, adding a charger requires understanding your electrical system’s capacity, the permitting process, and the type of charger that best fits your needs. Here’s what homeowners should know before installing an EV charger.
Understanding EV Charging Levels
Level 1 Charging
- Uses a standard 120-volt outlet
- Adds 3–5 miles of range per hour
- Ideal for light daily driving or overnight top-offs
Level 2 Charging
- Uses a 240-volt circuit
- Provides 20–60+ miles of range per hour
- Most common for residential installations
Level 3 (DC Fast Charging)
- Found primarily at public charging stations
- Not suitable for typical home electrical systems
What to Consider Before Installing an EV Charger
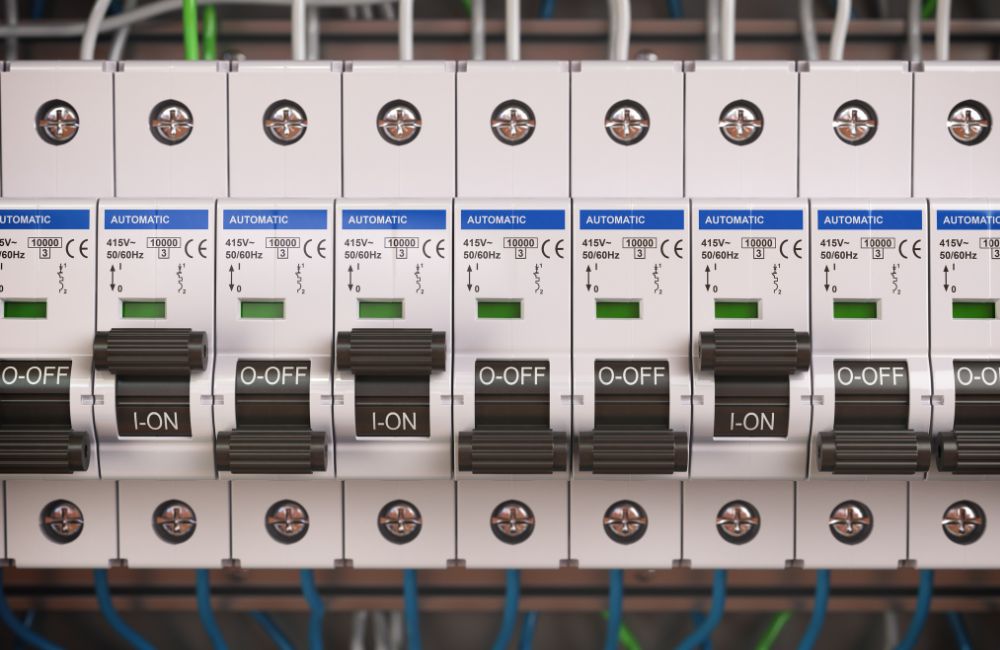
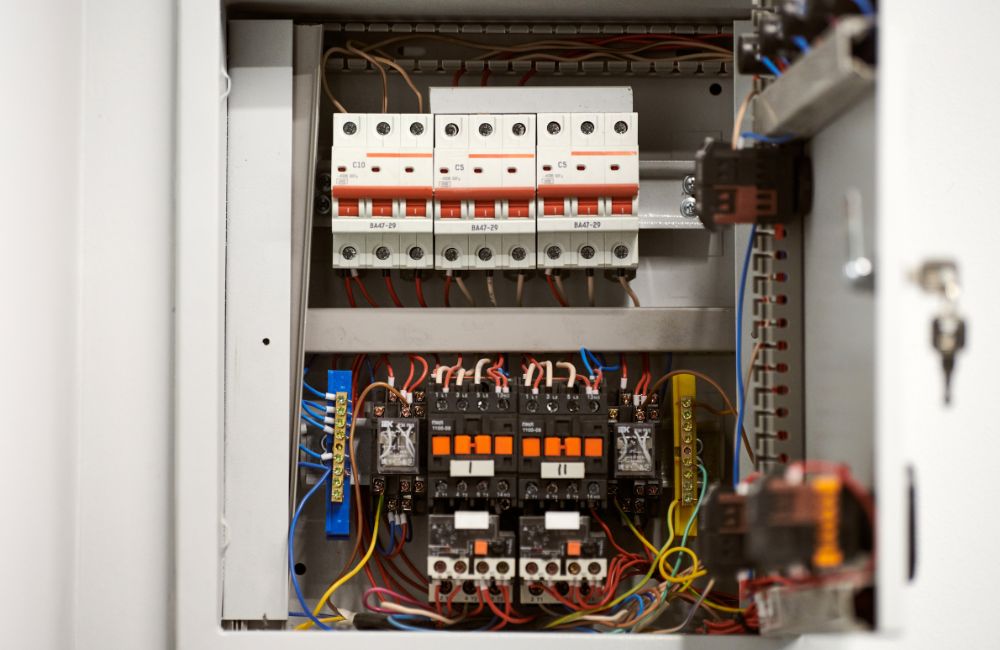
- Electrical Panel Capacity – Ensure your current service can handle an additional 240V circuit.
- Circuit Size – Most chargers require a 30–50-amp dedicated breaker.
- Location – Plan where the charger will be mounted (garage, exterior wall, or carport).
- Permits and Inspections – Local codes typically require permits for new circuits.
- Future Needs – Consider whether you may add more EVs later.
- Rebates and Incentives – Many states and utilities offer rebates for home charging installations.
Steps in the EV Charger Installation Process
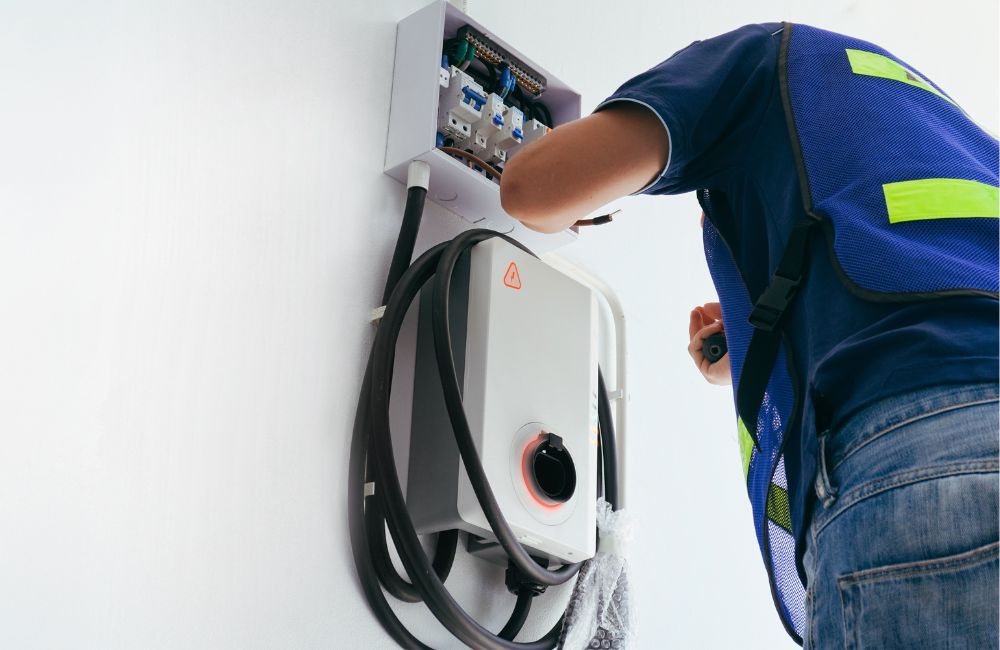
- Site Evaluation
A licensed electrician assesses your panel’s capacity and determines the best wiring route.
- Permit and Code Compliance
Permits are submitted to ensure your installation meets local electrical codes.
- Circuit Installation
A dedicated 240V circuit is added from your electrical panel to the charger location.
- Mounting and Connection
The charger is securely installed, wired, and connected.
- Final Testing and Inspection
After testing and city inspection, your charger is ready for use.
Typical Cost Range
EV charger installations can vary based on:
- Electrical panel capacity and potential upgrades
- Distance from panel to installation site
- Type of wall or mounting surface
- Labor and permitting fees
- Choice of charger model
Most homeowners spend a few thousand dollars for a complete installation, including materials, labor, and permitting.
Benefits of Installing a Home EV Charger
- Charge overnight at your convenience
- Avoid waiting at public stations
- Lower long-term fueling costs
- Increase home resale value
- Qualify for rebates or tax credits
FAQ: Home EV Charging
Q1. Can I plug my EV into a regular outlet?
Yes, but Level 1 charging is slow and best suited for short daily commutes.
Q2. Do I need to upgrade my panel?
Possibly. Older 100-amp panels may not support a 240V EV charger circuit.
Q3. How long does installation take?
Typically, one day, unless panel upgrades or permits delay the process.
Q4. Can the charger be installed outside?
Yes — many EV chargers are rated for outdoor use and weatherproof installation.
Q5. Are rebates available?
Yes, many local utilities offer rebates or rate discounts for installing a home EV charger.
Contact Westover Electric
Ready to make EV charging at home fast and easy? Let Westover Electric handle your installation safely and in compliance with code.
⚡ Contact us today for a professional quote or home assessment.
Our licensed electricians provide expert installation for Level 2 EV chargers, ensuring efficient charging and long-term reliability.
👉 Schedule Your EV Charger Consultation